
Happy New Year friends!
In our usual tradition, we celebrated with sparklers.
Been flipping over the calendars today, amazed that it’s 2025!
Happy New Year friends!
In our usual tradition, we celebrated with sparklers.
Been flipping over the calendars today, amazed that it’s 2025!

Growing up, I always looked forward to my grandma’s squash pie during the holidays. My grandma makes really good pie, and her squash pie was always my favorite. I thought of it as “pumpkin” pie, even though it wasn’t made with pumpkins, it was made with squash.
This year I decided to make some of my grandma’s squash pie with winter squash from the garden. I dug through my recipes until I found the recipe card, in her dear handwriting. I wanted to share the recipe with you here.
Squash Pie
Recipe from: Grandma Jensen
Serves: 3 pies
4 cups squash (baked and put through food mill)
3 cups milk (she uses evaporated skim)
1 cup sugar
1 cup brown sugar
5 eggs
1 tsp. pumpkin pie spice
1 tsp. cinnamon
1/4 tsp. ginger
1/8 tsp. cloves
Mix sugars and spices- then beat all ingredients until smooth. Pour into three 9″ or two deep dish 10″ prepared pie crusts. Bake 15 minutes at 400 degrees or 35-45 minutes at 350 degrees. *Done when knife inserted in center comes out clean.
…..
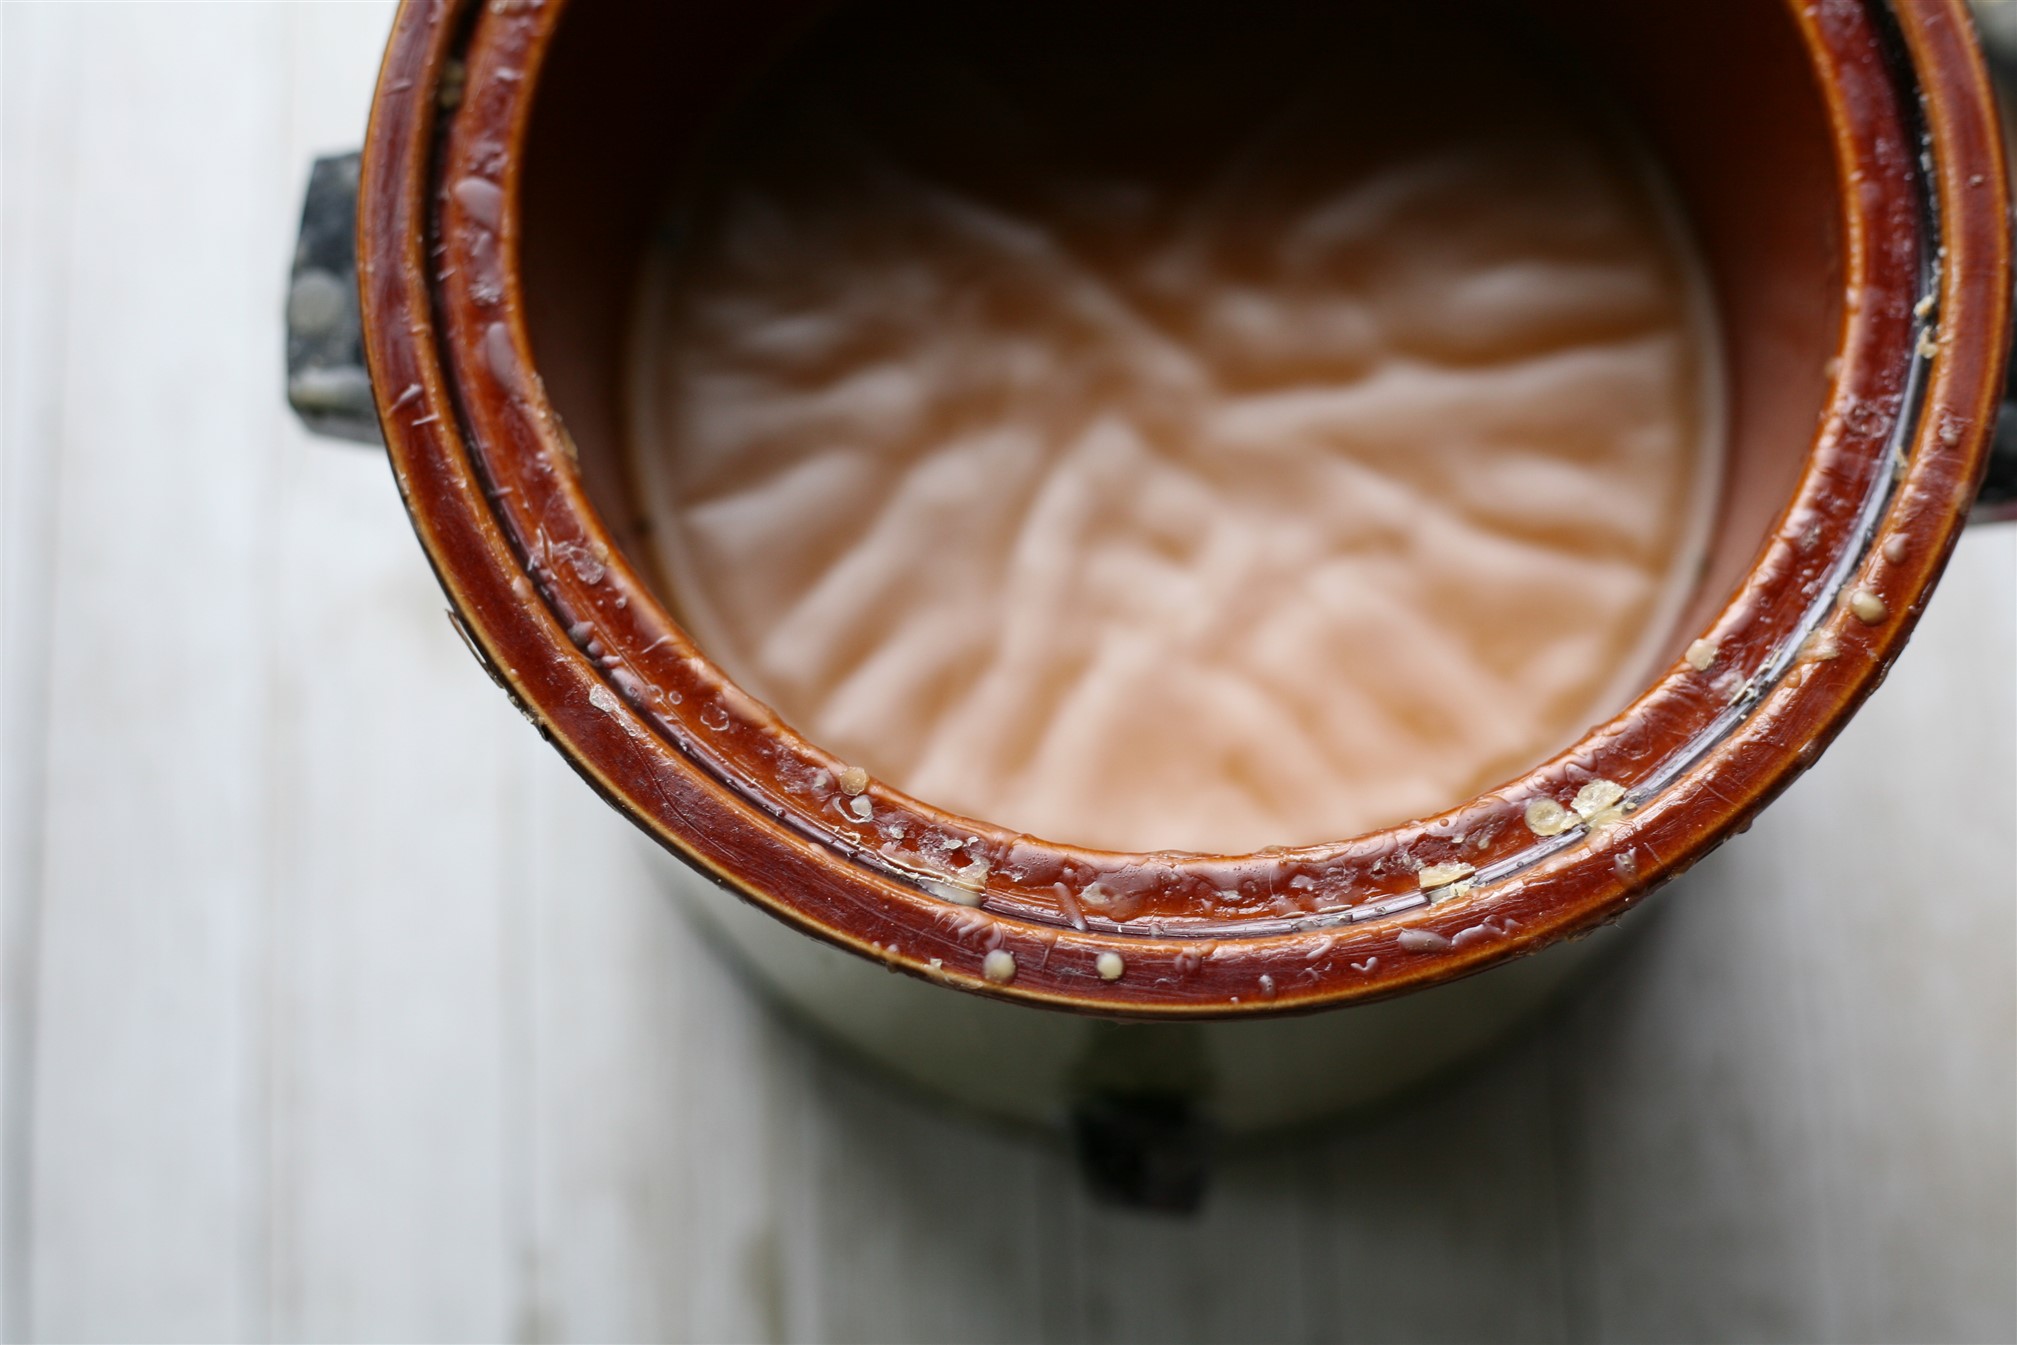
I had my squash all ready to go, and got started on pies one evening. I had one pie pan, and another type of pan close in size to a regular pie pan, so I made two crusts.
I substituted a few ingredients for what I had on hand- coconut milk, and coconut sugar. I didn’t have any clove powder, but had everything else.
I decided to just go ahead and put the filling for three pies in the two pie crusts, figuring it would just take a little bit longer to bake. Well, it ended up taking a whole lot longer to bake.
I kept checking the pies, and then putting them back in the oven to bake longer. I stayed up past my bedtime waiting for the pies to finish baking.
By the time the pie centers were done baking, the crusts were overdone. As you can tell in the picture above, they were not the world’s most beautiful squash pies…
But… they tasted good!
That very first bite I tasted, when it was still warm from the oven, brought tears to my eyes. I was instantly transported to my grandparent’s house, and I was a little girl again.
It is truly amazing the way a scent, a flavor… can completely transport us in time and flood us with feelings and memories.
While I have a lot of practice to do before my pies are anywhere near as tasty as my grandmother’s, my version of her pie brought the memory back.
I could close my eyes and still taste hers, feeling the warmth of her love through pie.
My grandma will be delighted when I tell her I made her squash pie recipe, and glad that I’ve shared it here for more to enjoy.
P.S. The next time I make my grandma’s squash pie, I plan on making three pies like it says in the recipe. 🙂

This holiday season, I have been thinking about loved ones a lot.
The ones who are still in my life, and the ones who have passed away.
Remembering random, and funny memories from my childhood.
Appreciating how each person’s unique spirit has shaped my life and left a lasting effect.
Every ornament we put up holds a memory.
I look at each one and remember, before hanging it on the tree.
I love watching the twinkling tree at night.
When the world is dark outside, and the winter cold is in the air, simply being inside in the warmth and looking at the tree feels so cozy.
I know the holiday season can be bittersweet for many.
It can hold so much joy and love, and time spent connecting with people we cherish.
It can also be a sad time for those who are missing loved ones.
Loved ones who have passed away, or loved ones who live far away.
I want to acknowledge that part too.
Tears of joy, and tears of sadness, can go hand in hand sometimes.
When I think of the loved ones I miss, it makes me look around and appreciate all the people who are in my life right now.
It reminds me how precious the time is.
When I look back on my life, all the best parts are the people.
Loving one another. That’s what it’s all about.

Happy Solstice!
We felt like celebrating as elven folk this year. Thank you to our friend for sharing this picture with us- “the mystical elf overlooking the wild sea” -and for creating such a fun and festive Solstice celebration each year. ❤


Hello! I wanted to let you know about a sale we are having.
We are celebrating all of the handmade goodness bursting out of the shop right now with a sale! December 10th through 18th, enjoy 10% off orders over $40 in the shop with the code: HANDMADEHOLIDAYS
We get asked what our biggest discount of the year is, and this is it, so if you are wanting the discount, now is the time!
Head on over to the shop at: http://www.woolymossrootshandmade.com (or find us over on Etsy) to see all the new things and make the most of our biggest discount of the year!
Also, I want to share something on my heart about shopping small ❤
When you purchase something from a big box store, how much does it mean to them?
When you purchase something from a small family business, how much does it mean to that family?
When you shop from small family businesses, your support means SO much! Your purchases are directly going towards families buying groceries and filling the gas tank. Around here it also means providing seeds for the garden, feeding the critters, and keeping us making things.
In a world where most things are not made by hand, we LOVE creating soulful, handmade things to share! At WoolyMossRoots, we truly thank you for your support of handmade! ❤


There are some things we grow in the garden every year. The garden “staples”, the things we eat a lot of, the things that grow well here, and the things that we preserve for the winter.
Then there are some experiments in the garden each year. Things that we grow because we’re curious. They are sometimes things that don’t necessarily grow the best where we are, but we want to try them anyway. Things like sweet potatoes, for instance, and watermelon (we haven’t given up on that yet.)
Growing corn was not really an “experiment”, we’ve grown it in the garden plenty of times before. We don’t grow it every year, though, because we have limited space and limited sun, so we usually devote that growing space to other things.
Honestly, corn doesn’t grow the best in our little garden spot, but we like to grow it from time to time anyway. These pictures were from corn that we grew in last year’s garden. Jeff and B saw so many beautiful, colorful varieties and wanted to give them a try.
That blue corn? So gorgeous. The variety is called Hopi Turquoise, said to originate from the Hopi people. We’re not remembering the other corn varieties that we grew, but we sure did enjoy growing all the colorful corn.
B was curious about “popping” some of the corn for popcorn. Just for fun, we took some of our homegrown corn and put it in the popcorn popper. It didn’t work. Good to know. None of the varieties we grew were for that purpose specifically, they were for eating fresh or grinding into corn flour.
I think this about sums up what I was going to share with you here about garden posts for the year. It will be fun to see what new things we’ll try in the garden next year!


Do you love mushrooms? Would you like to grow some in your yard, and gather your own mushrooms right outside your door?
I told you how much we enjoyed growing oyster mushrooms in the garden over the summer, and shared with you our process of growing them vertically in straw in a laundry basket. If you would like to learn more about that, be sure to check out that post.
Oyster mushrooms are not the only mushrooms we’ve been growing around here, there is another mushroom we grow in our yard that is by far the easiest mushroom we’ve grown. That’s the one I came to tell you about here today, and it goes by the name of Wine Cap Mushroom. (Stropharia rugosoannulata)
If you are new to growing mushrooms, and would like to start with something easy, wine cap mushrooms can be grown in the yard in woodchips. It’s a great mushroom to grow for beginners!
Wine Cap Mushrooms are also known as Garden Giants or King Stropharia. The name wine cap comes from the color of their caps. They are some beautiful mushrooms!
Wine cap mushrooms love growing in wood, but can also grow on compost piles, on decomposing straw, soils enriched with sawdust, and even in the garden. We love growing them on woodchips, where they proliferate like crazy. They prefer hardwoods, but they are not a super picky mushroom.
Many years ago we got a load of woodchips from the power company. After Jeff spread the woodchips around the yard for pathways, wine cap mushrooms came up wild all over the yard. We were delighted!
I have pictures of B helping to collect them around the yard when he was one (and now he’s a teenager, so he’s been a part of the wine cap mushroom gathering for a long time.)
We didn’t see any wine cap mushrooms for a time after that (we didn’t refresh the woodchips), so the next time we had a source of woodchips, Jeff wanted to order wine cap mushroom mycelium to get it going again.
We ordered wine cap mycelium from North Spore, and spread it around the yard, wherever we had woodchip pathways. It went nuts! There were flushes of wine cap mushrooms everywhere.
Spreading the wine cap mushroom mycelium, covering it in fresh woodchips, and then watering it here and there (if it’s a dry time of year), is a great way to get a patch of wine cap mushrooms going.
The pictures in this post are all from harvests in 2022. Since that time, we have been spreading fresh woodchips over the top of the pathways multiple times per year, and we’ve had continual harvests for YEARS. Lots and lots of wine cap mushrooms!
We cook the wine cap mushrooms right after harvesting them, and also dry a bunch for the winter to add to soups. We love them! It is wonderful to not only have fresh mushrooms available right outside our door to add to meals, but to have such an abundance that we can store mushrooms for the winter as well.
Buying that wine cap mushroom mycelium was a very good use of our money because the mushrooms harvests have just kept on rolling! We harvest regularly throughout the spring, summer, and fall. This year, we had some especially huge flushes throughout September and October, and still had some wine cap mushrooms popping up in late November.
If you order the wine cap mushroom mycelium, you can keep it going by providing new woodchips on a regular basis, and by continuing to spread the newly forming mycelium around the yard.
Something that’s so great about wine cap mushrooms are how easy they are to establish and spread in new areas! If the wine cap mushrooms become too large and bug eaten, you can spread them around new areas with woodchips. We also use the ends of the stems, with the mycelial roots, to spread around the yard.
One thing to know about wine cap mushrooms in particular is that you don’t want to eat them for multiple days in a row because they can cause an upset stomach. The reason for that is because you need time to rebuild the enzymes needed to digest them.
Don’t let that discourage you from growing and eating them, though. Our family did get a stomachache after eating them for more than 2 or 3 days in a row, before we knew about that. We typically eat them once or twice a week, and haven’t had any problems since.
If you harvest more than you can eat all at once, dry the extra. To dry wine cap mushrooms, we slice them and put them on trays in our oven on the lowest temperature. You can also dry them in a food dehydrator.
What I include in every post about mushrooms: Of course, always be sure you confidently identify any mushroom before eating it, and start with a small amount at first to see how your body reacts.
We have found it best to harvest the mushrooms before they get too large. The more mature the wine cap mushrooms get, the less “meaty” the caps are, and the more bugs we find in them. (And they become less flavorful.)
It can be challenging to get them while the caps are still fresh and smaller though, because they grow so incredibly quickly! Like I mentioned earlier, however, if a mushroom goes too long, simply use it to spread to another area in the yard.
If you feel inspired to grow wine cap mushrooms in your yard, we hope you will enjoy abundant harvests of delicious mushrooms for many years to come!
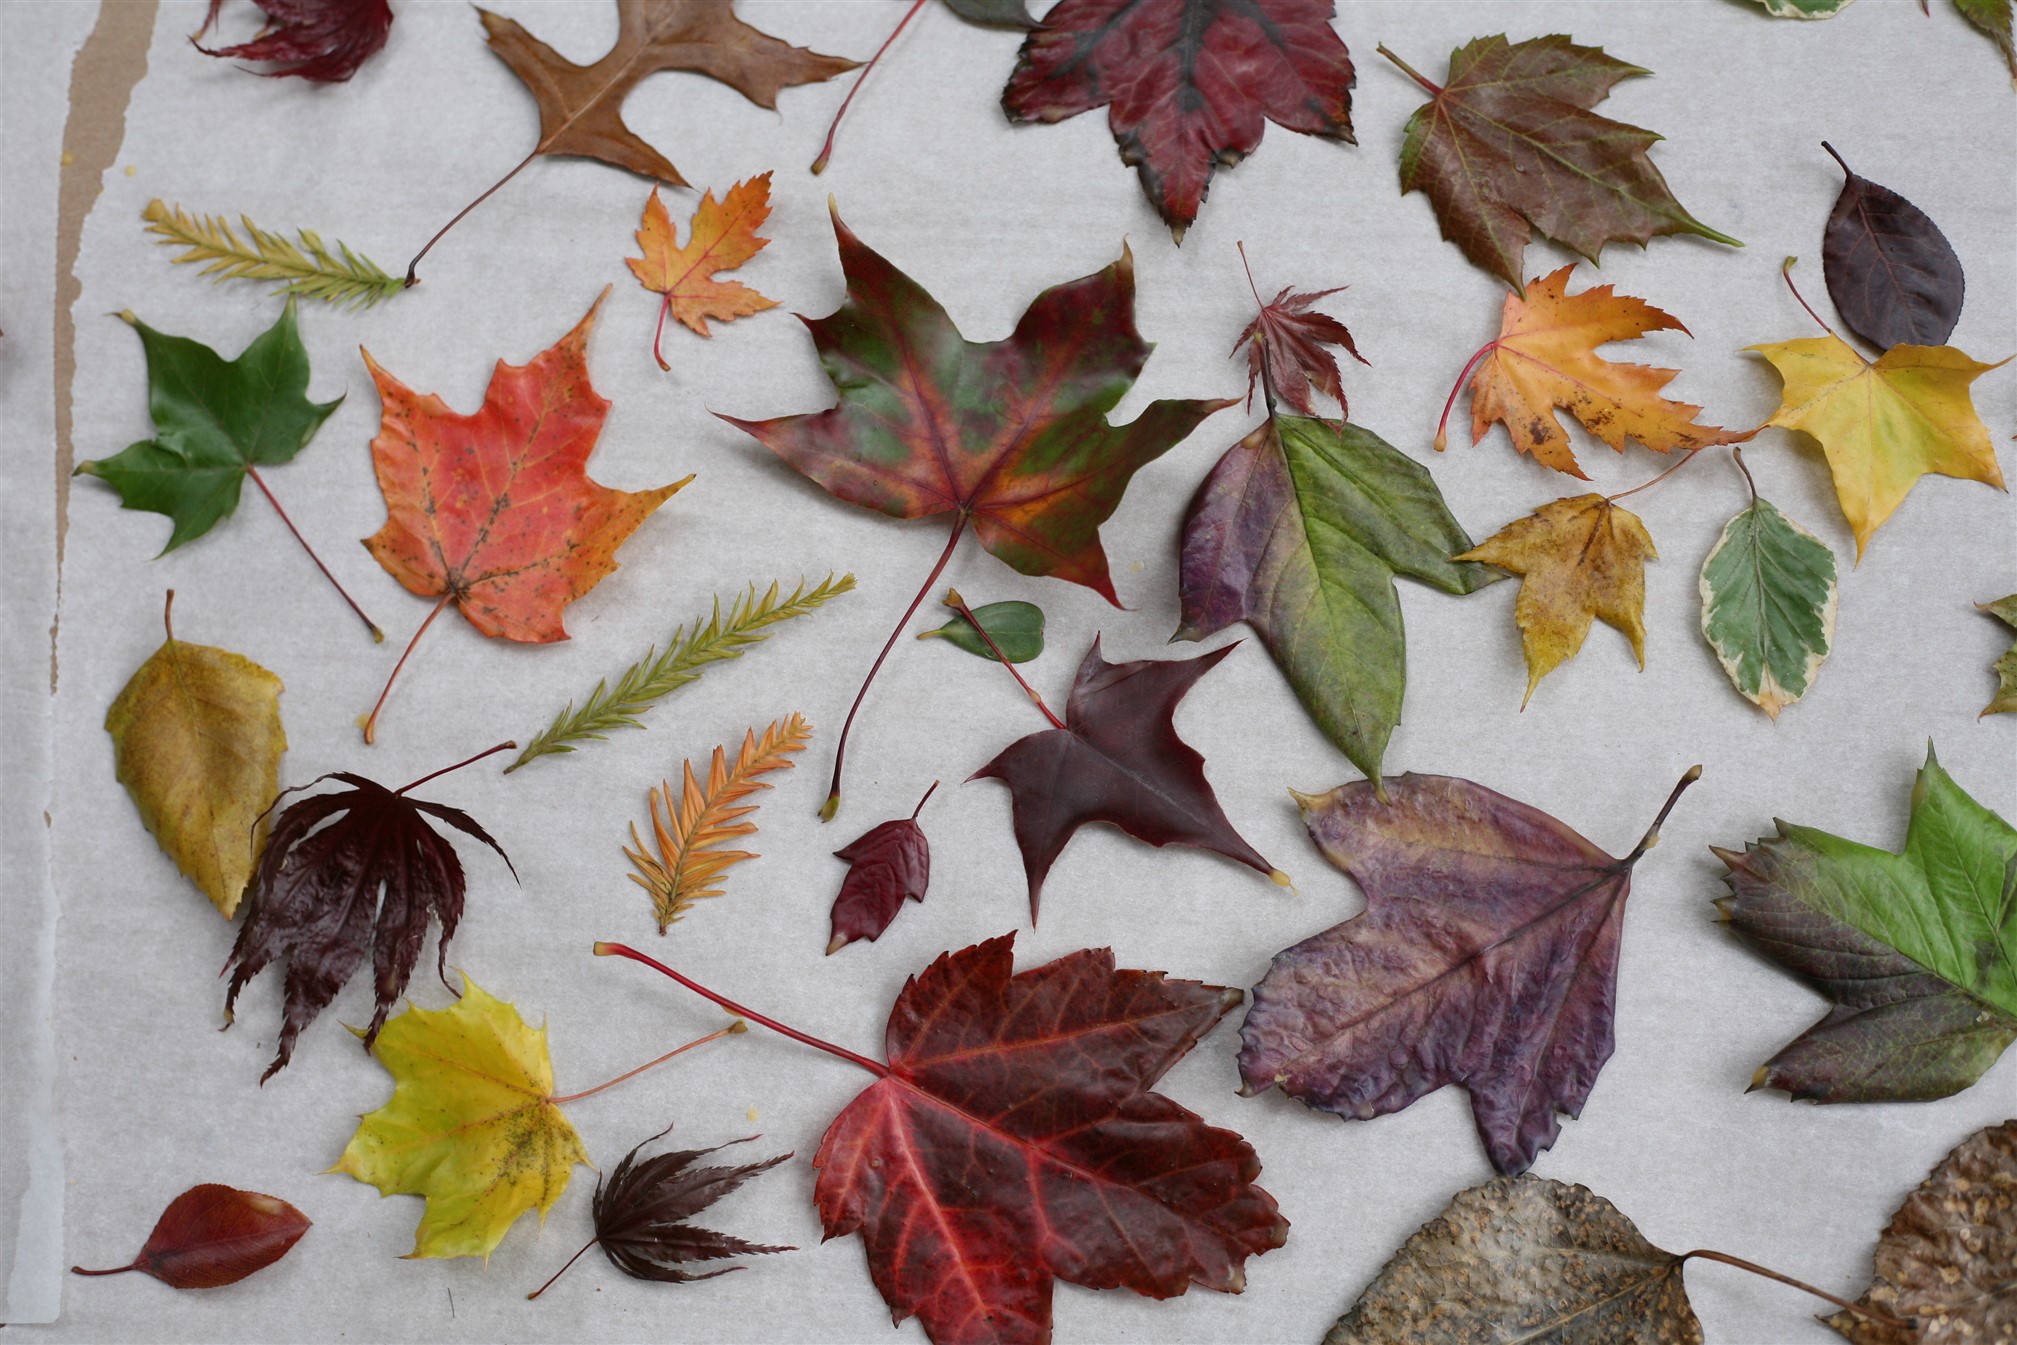

Years ago we learned about dipping leaves in beeswax from a friend, where it was a fall tradition at their local Waldorf School.
Since then, it has become a fall tradition in our home as well.
We have a crockpot dedicated to beeswax, and every fall we melt the wax, and dip leaves in the melted beeswax.
I love that we are able to preserve, and enjoy the gorgeous colors of fall for awhile longer. And I love infusing the house with the smell of beeswax!
Many years we have dipped leaves with friends. I’ve brought our beeswax crockpot to homeschool gatherings, and nearby farms, and it’s been fun to share the magic of beeswax leaves with others.
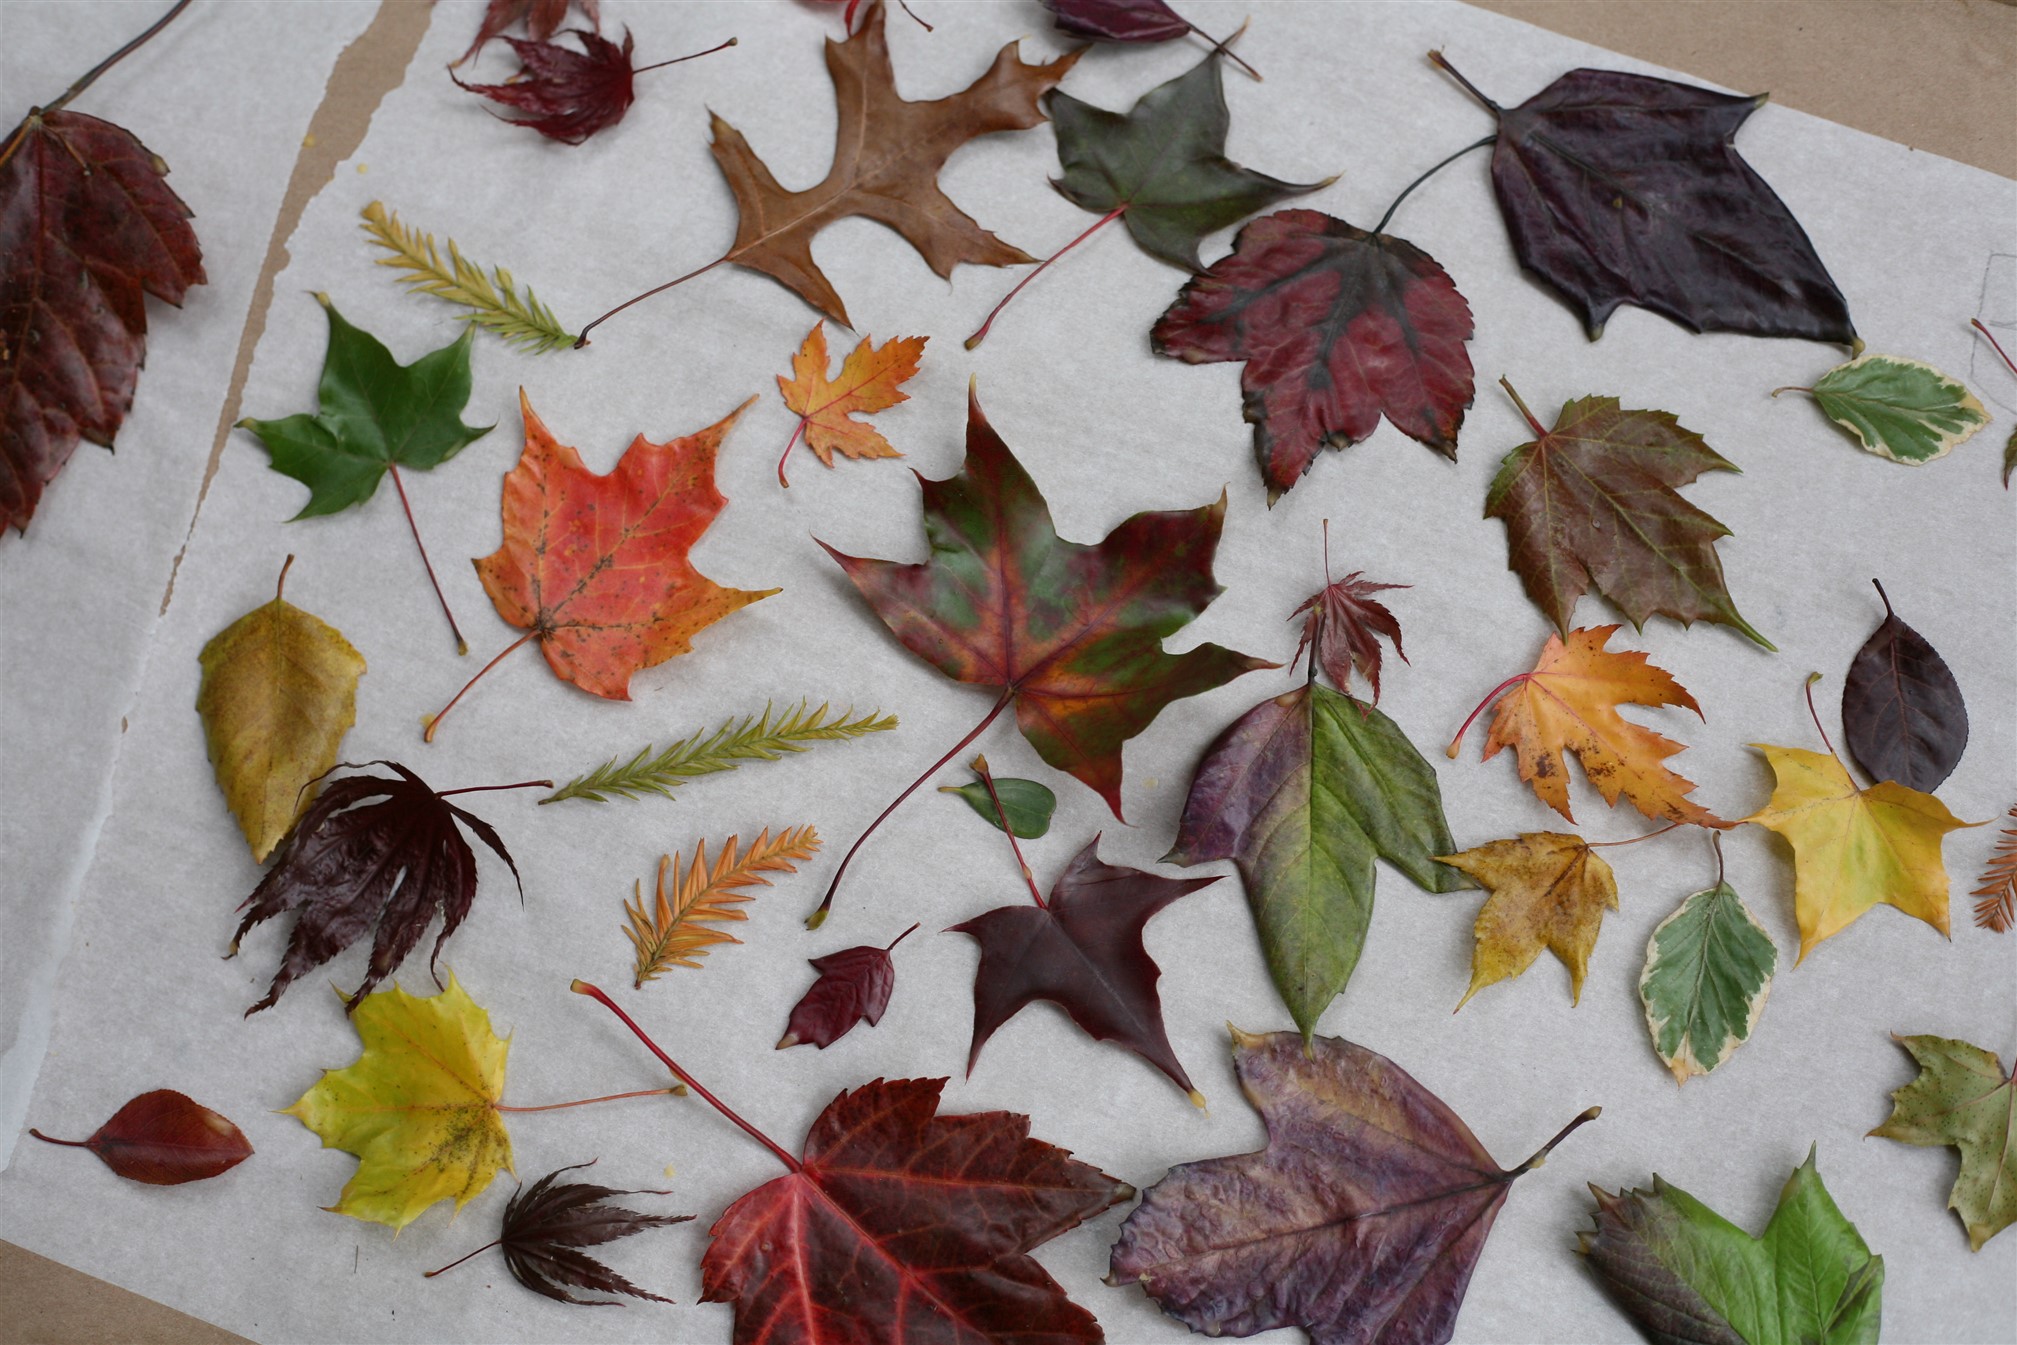
All the colorful leaves in the pictures above were from last year’s leaf dipping, when we had an autumn celebration with friends. There were so many different colors and kinds of leaves that people brought, it was really beautiful!
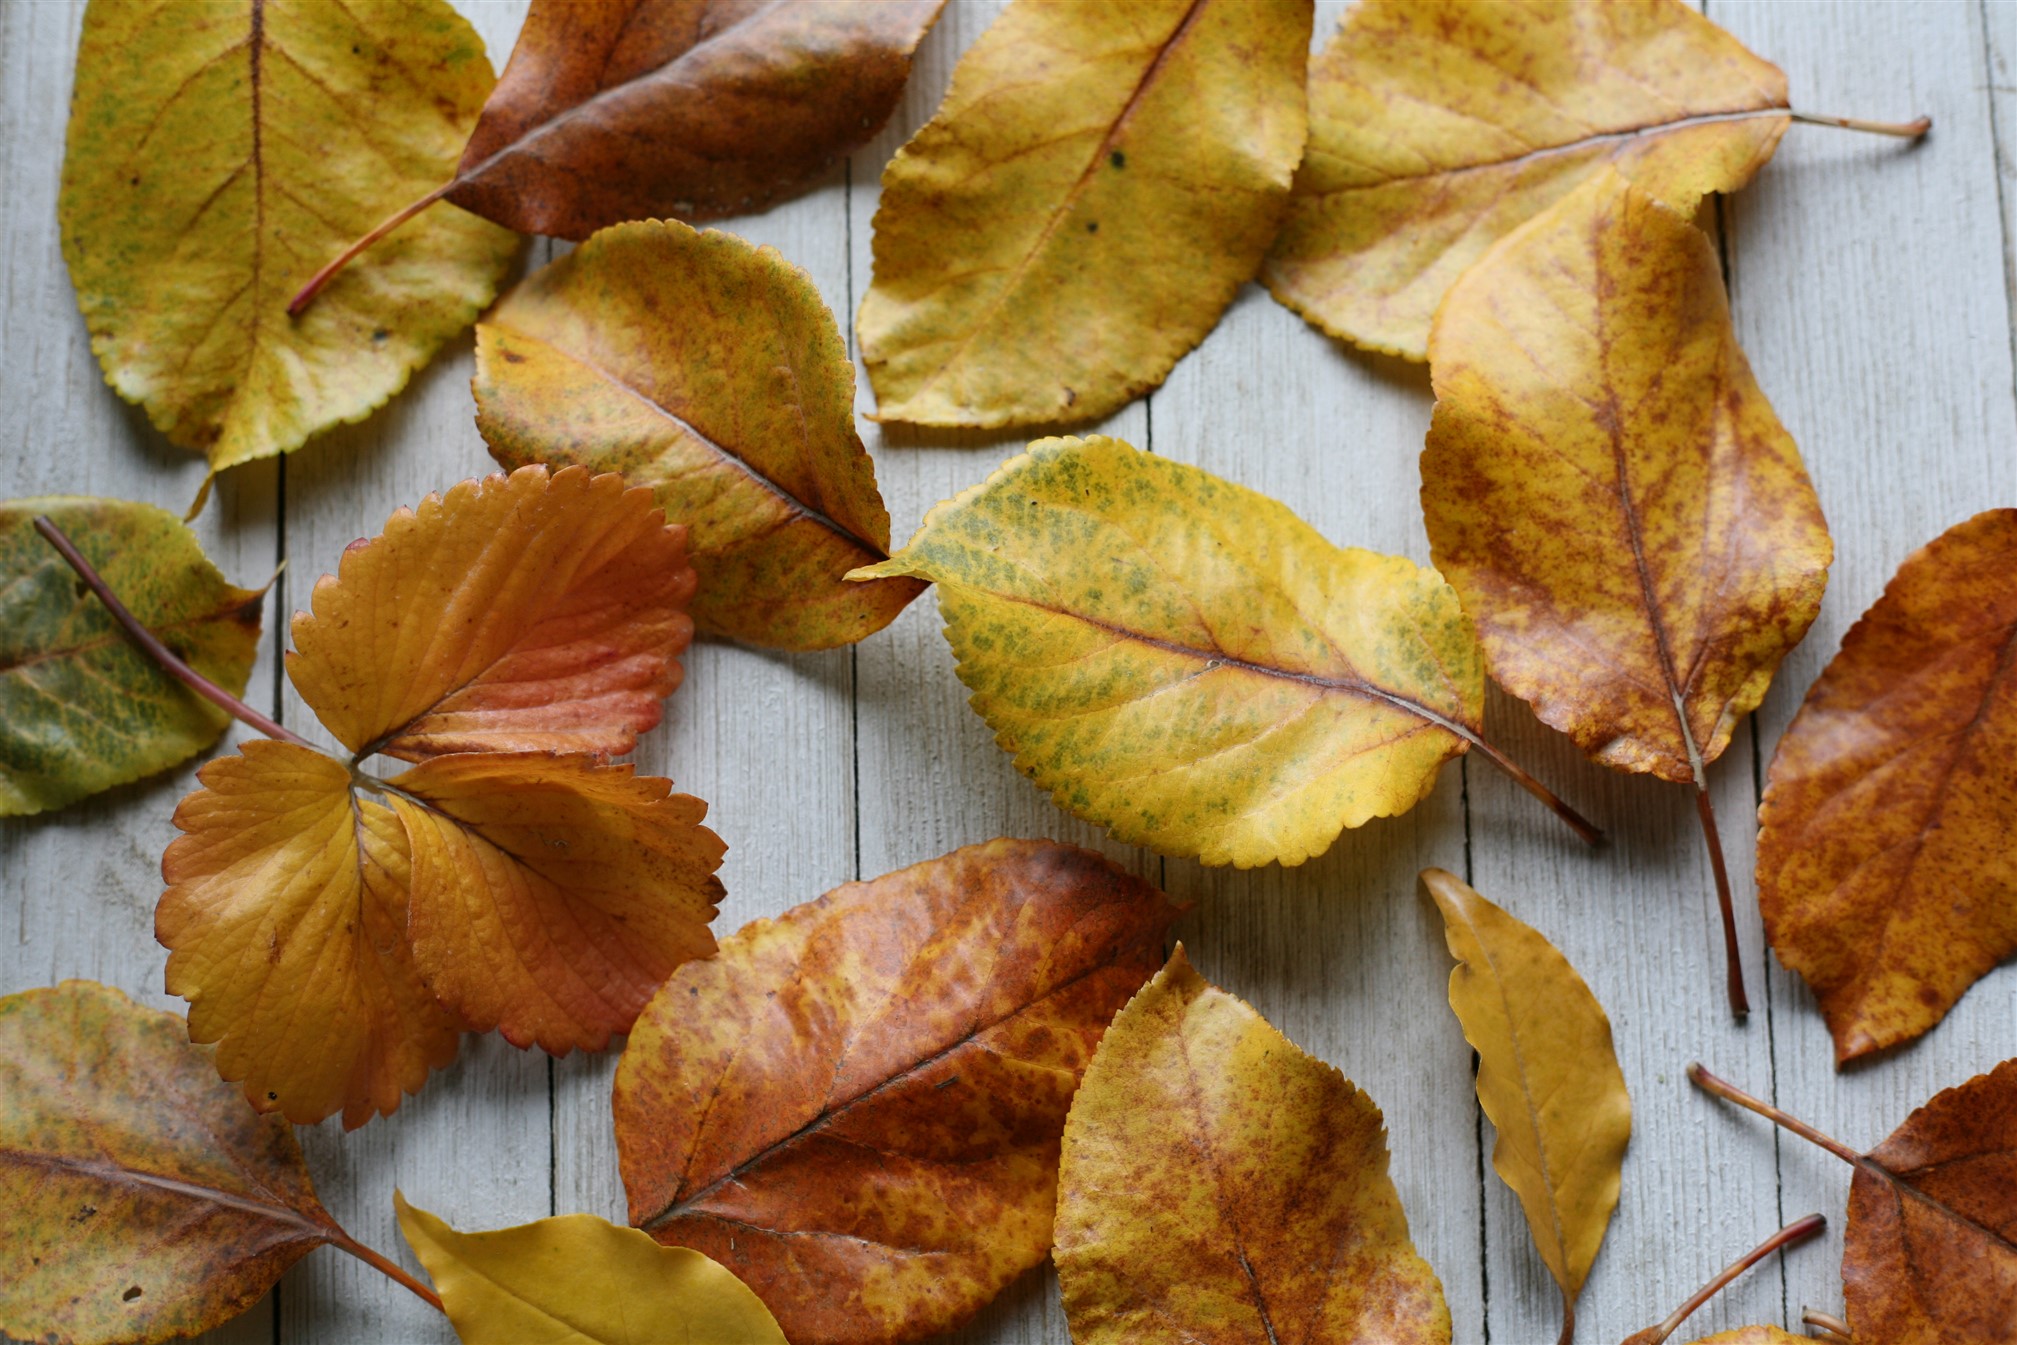
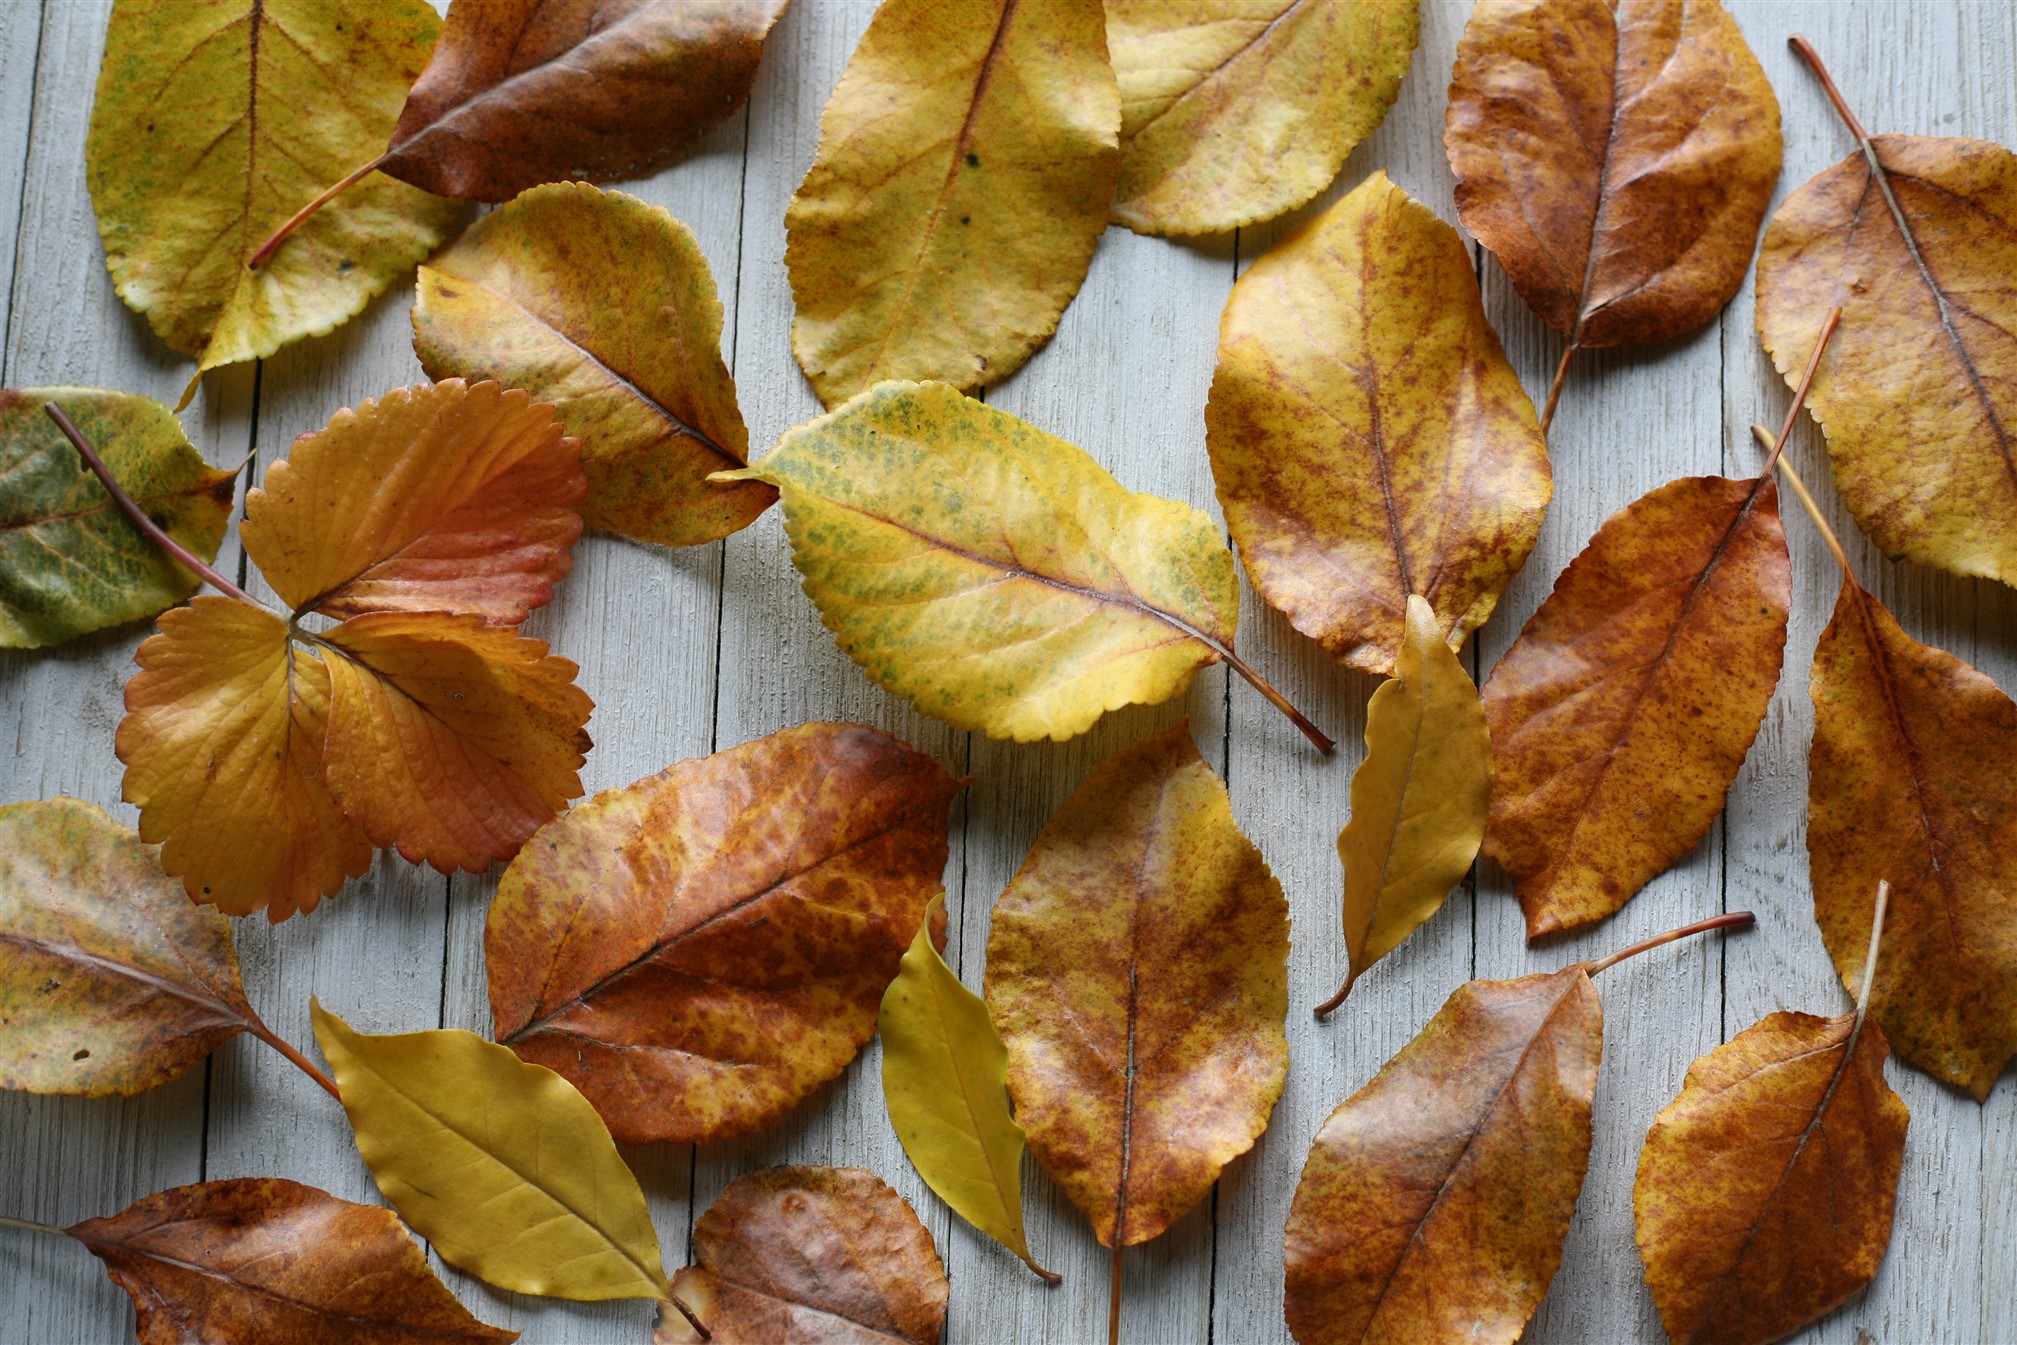
This year it wasn’t meant to be to dip leaves with friends, but we carried on the tradition in our home. We collected and dipped apple leaves for the first time. I love the yellow! B also collected some goumi leaves, and even a strawberry leaf! See that in the pictures above?
We also collected leaves at a friend’s house (with the most gorgeous fall leaves on their trees), but we got busy and didn’t get a chance to dip them for too many days afterwards and the colors had faded.
You can press the leaves in a book beforehand to flatten them, but we don’t like to do that for long (usually just overnight) because the leaves are best dipped when they are fresh and the colors are vibrant.
The thing with B and I, is that we always find more leaves we love. Look at this one! Oh, we need to dip this one! This year we kept finding more leaves around the yard we wanted to dip, and then we’d plug in the crockpot again. We’ve dipped our leaves for the year, and I finally just tucked the beeswax crockpot away.
We love to give the beeswax leaves as gifts. And I love to smell them! We’ve had them keep their color for a year or more, which still amazes me. When they eventually lose their color, they make great fire starter.
It’s wonderful to have some of the colors of fall indoors to enjoy, when there is not much color to be seen outdoors during the colder months.

Each season is busy in it’s own way.
In the spring all the raised beds need to be prepared in the garden, and all the planting done. In the spring we feel a burst of energy with all the possibility for the year, and want to do all the things. Do you feel that way too?
In the summertime, both harvesting and watering can feel like a full time job at times. And then there’s the preserving too. By summer, we don’t want to add anything like we did in spring, but have our hands full just maintaining what’s already on our plate.
In the fall, the last of the harvests come in and everything needs to be preserved. There is much to do to prepare for winter, and we dig deeper into our energy reserves to wrap things up. By that point we’ve been hard at work for many, many months and are looking forward to the slower pace that comes with the colder months.
Here in the Pacific Northwest, our winters are very rainy. Every year we have things we want to accomplish before the rainy season hits. It’s the fall hustle, with busy, squirrel-like activity before the cold season arrives. This year felt like we had an especially long “before the rainy season” list.
Back to summer for a moment. A big project on our list for the summer was to remove the front porch, which was at the end of it’s lifespan. It was a huge undertaking and Jeff and I felt overwhelmed and intimidated by the project. We’ve tackled many projects together over the years, but this one felt particularly daunting.
Some friends offered to help us and I cannot express enough how grateful we felt for their help. So very grateful! They took a day out of their busy schedule and gave freely of their time, their experience and expertise, and their tools. What a blessing it can be when people so generously share their skills.
The relief we felt after the porch project was done was huge!
After that Jeff and I needed to repair some siding on the front of the house, and do some painting. I learned some new skills! I had never put up siding before. There was no siding available to match what was already there, but we found some siding that we liked and I felt really proud of all the work we did.
Ideally, I would have gotten all the painting done during the heat of the summer, but projects always take longer than you expect (and we always have a lot of projects going on at one time), so I was busy painting in the fall and trying to beat the rain.
Jeff had been busy building me an adorable shed for storing animal feed, and things for the animals. (The majority of the materials were repurposed, much of it from the old deck boards my dad and stepmom brought us when they upgraded their deck. Everything was appreciated, and put to use. Moving the animal feed to the new shed meant clearing out the garden shed where it was blocking all the tools we needed access to for all the projects we do around here, so this was a great project to finish up for so many reasons!)
In addition to finishing painting the front of the house, I wanted to get that shed painted too, so I had lots of painting to do. Jeff was busy with some painting also. Our truck bed was rusting, so he sanded it down, did a rust treatment, and then painted the back of the truck. Much better!
There would be plenty of outdoor projects that we’d do on rainy days, but for all the painting we were wanting to do, we were trying to beat the rain!
My dad and stepmom came for a visit in October, and we had an early birthday celebration for B. We sat around the campfire at night, ate homemade ice cream and brownies, sang silly songs, and watched the night sky. Some good memories were made with B’s Granny and Gramps.
While they were here, they helped us with the garden clean up and we appreciated the extra hands so much! It looked like our last sunny weekend in the forecast for awhile, so we made the most of it and got a lot wrapped up in the garden for the season.
And now are we all caught up on projects?
Hahaha.
We have a list of outdoor projects for sunny days, and for days with lighter rainfall, and every time we cross something off the list it seems we think of three more things to add! Funny how that goes, isn’t it?
Our family has been building cover for some hay storage, so that’s one project. We cleared out the woodshed for firewood (I had been storing bales of orchard grass in there all summer), and got firewood stacked. With storms in the forecast last week, we did all kinds of storm prep, replacing some ties on a greenhouse, and getting buckets of water filled for extra water for the animals. We are in constant storm prep mode during the fall and winter.
Our rainy season is here, and the days are shorter. More time is being spent indoors now, which is appreciated. I’m reminded every year how important the colder months are to regenerate. Our bodies need a chance to recharge!
We’ve been working on some cleaning and organizing projects around the house, and making lots of things for our family’s woodworking shop. Since I find it easier to encourage others to slow down than to follow the advice myself… I appreciated the outside encouragement from a friend to pull out my knitting. I did just that. It’s a wonderful, and calming way to end a cozy fall day. Are you making anything these days? Do you feel that push in the fall to get all the things done before the cold season arrives?


Some of the last things we harvest in the garden each fall are Concord grapes, hardy kiwis, and winter squash. This year all of those things were harvested in late October.
The fresh fruit was very welcome because we have all been craving fruit like crazy. I love the smell and taste of Concord grapes. They taste like the essence of PURPLE. Do you know what I mean?
The Concord grapes growing in our yard have seeds in them. At one point in time I was nuts about the addition of the crunchy seeds (and they’re so good for you), but our whole family prefers seedless grapes these days. Now I want to plant a seedless Concord grape because there is no other flavor like it.
Our favorite thing to do with seedless grapes? Freeze them. My grandma froze grapes and they make the most delicious treat. Have you ever frozen grapes before?
We planted hardy kiwis in our garden years ago to have fresh fruit late in the season. We waited years, first getting a few handfuls, and then larger harvests each year until finally harvesting colanders full of hardy kiwis each fall.
We always have fun delighting friends and family by handing them a ripe kiwi to try when we are in the garden. People are so amazed at the little treats and get so much enjoyment from them.
You can eat the whole kiwi, skin and all, like a grape. As with the grapes, they are also good frozen. The kiwis are delicious when they are fully ripe, but when picked too soon they can irritate our mouths a bit.
We lost a male hardy kiwi plant last year, and replaced it with a new plant this year. We have two female plants and two male plants for cross pollination.
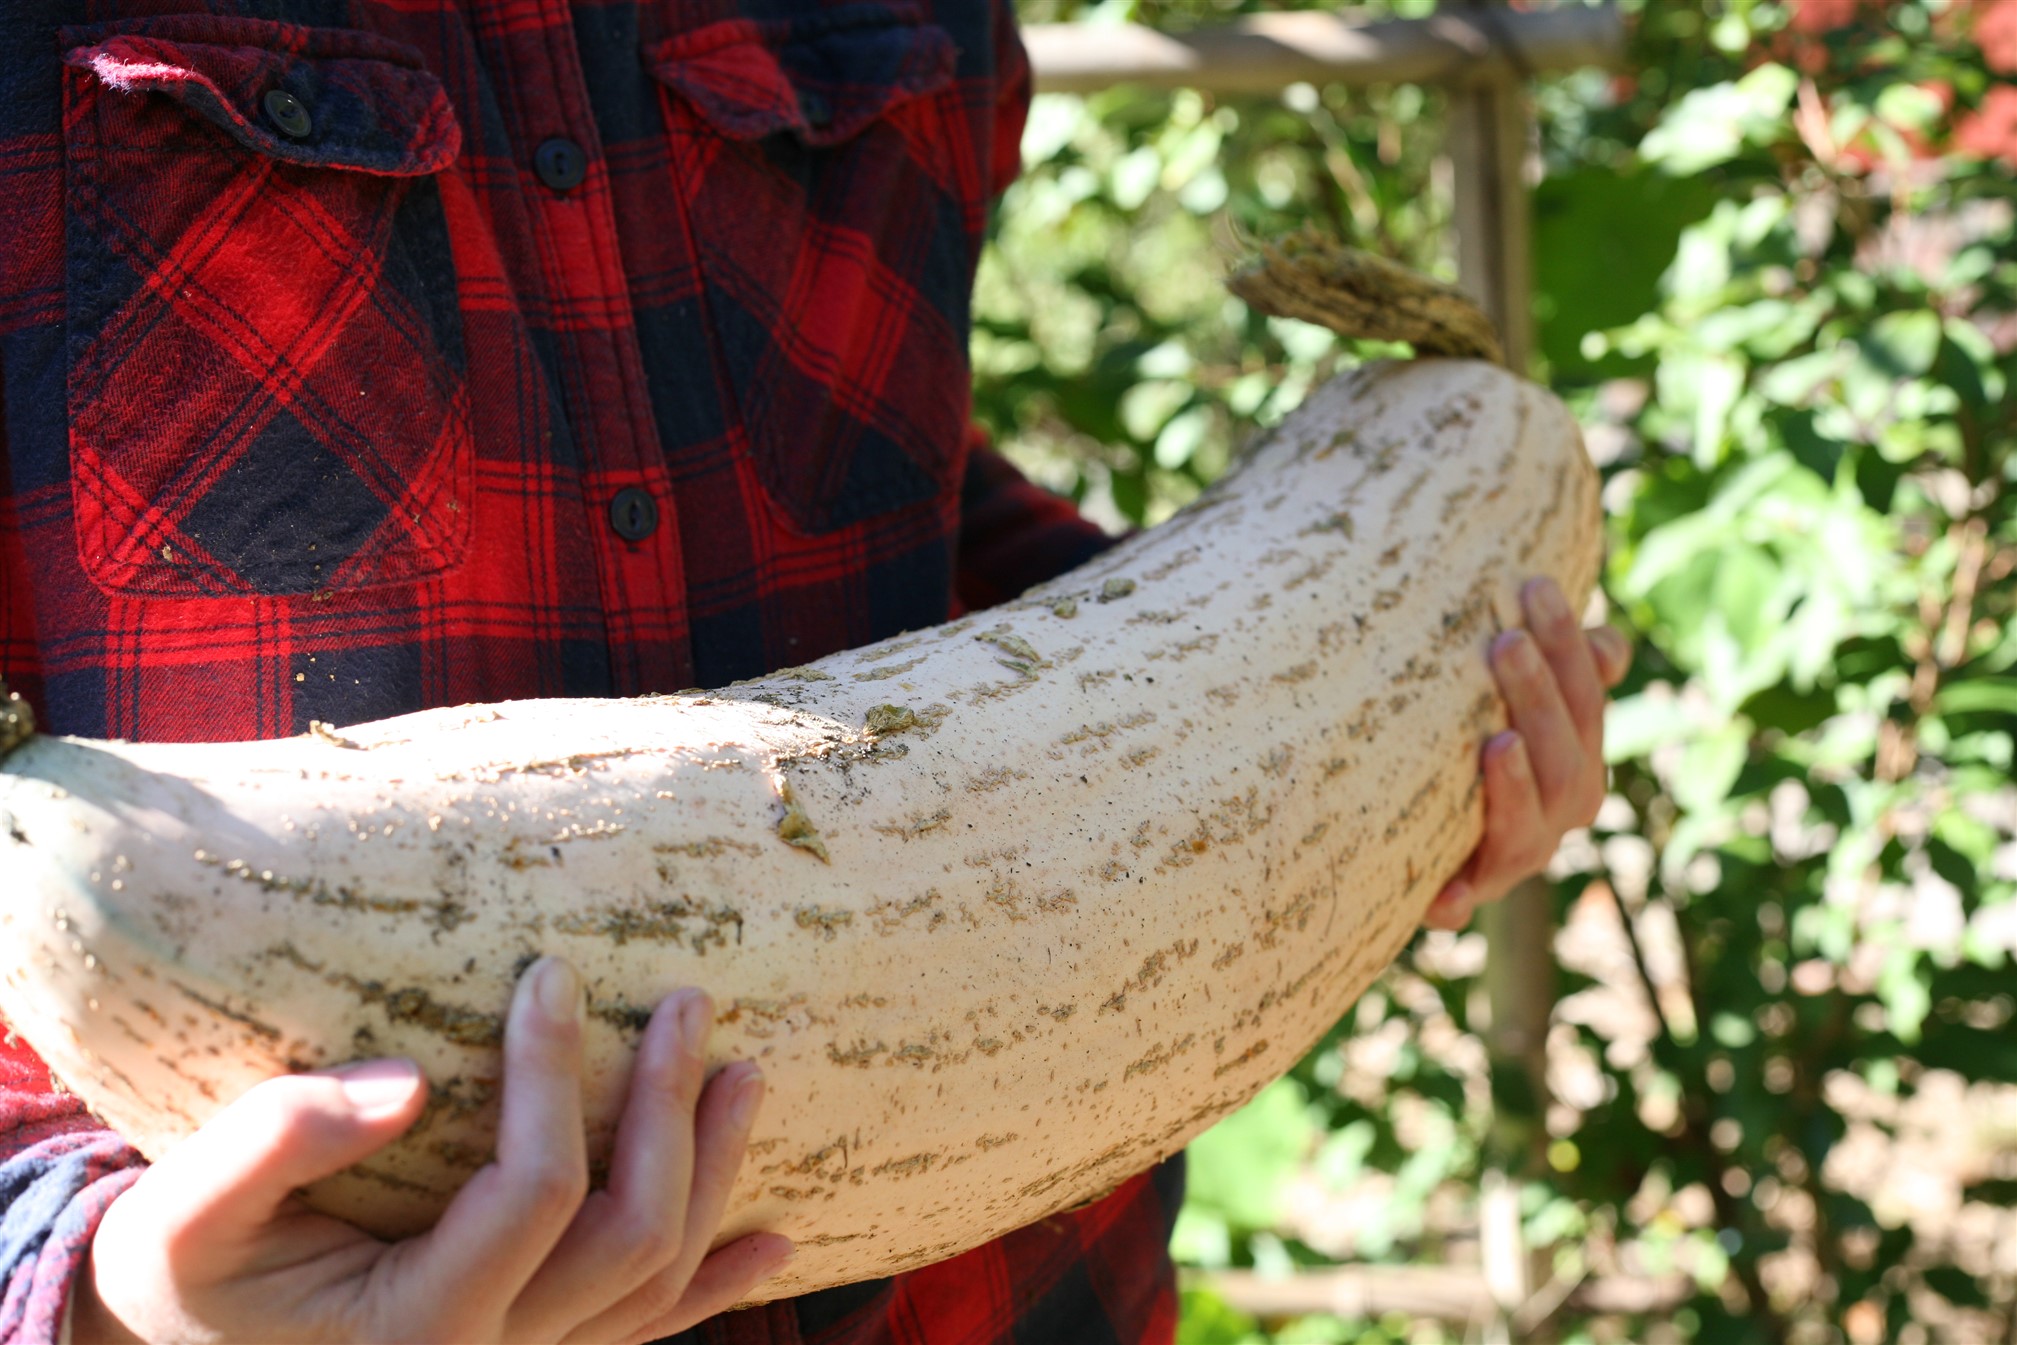
The last to be brought in with the October harvest was the winter squash.
The pictures above were from last year’s harvest, when we grew a variety of winter squash in all different colors. That is what we do most years, but this year we grew only one type of winter squash, Candy Roaster. Over the last few years, Candy Roaster has become our favorite winter squash to grow.
The new winter squash comes when we have finished up the last of the previous year’s winter squash, which works out well. Our family enjoys winter squash baked, with simply some butter or coconut oil, and a sprinkle of salt on top. Another way I use lots of winter squash is baked in muffins.
What about you? Have you been bringing in fall harvests from the garden, or enjoying fall treats from the farmer’s market? What foods do you look forward to in fall?

I’ve shared a lot about what we grew in the garden this year, and there’s more goodness from the garden to share with you yet!
You want to know one of my very favorite things that we grew this year? Mushrooms!
Yes, mushrooms! You can grow them in your garden! How amazing is that?
We have grown different kinds of mushrooms in our garden for years, but this year was the first time we grew oyster mushrooms in a laundry basket. And I gotta say, we love it!

Today I will share our process with you- to show you how simple it is to grow oyster mushrooms in your own backyard! While some types of mushrooms can be trickier to grow, oyster mushrooms are great for beginners.
Not only is this project simple, it doesn’t require much space! So if you are wanting to grow food in less space, and you love mushrooms, this could be a great project for you.
You can also utilize areas of your yard or garden that have more shade, where you might not otherwise be growing much food.

Here’s what you’ll need to do this project:
-Oyster Mushroom Spawn
-A Plastic Laundry Basket
-Straw*
-Water
………………………………..
*Finding straw that is not sprayed can be a bit challenging sometimes. There can be a lot of glyphosate/Roundup sprayed on straw. It’s worth it to do some searching to find a good source of straw!
It took years before we found a regular source, and we are so grateful to now have a local feed store, Eugene Backyard Farmer, that sells organic straw from Blue Mountain Hay. Many thanks to Blue Mountain Hay for growing organic straw, and to Eugene Backyard Farmer for selling it locally!
To find straw that is not sprayed- you can check out your nearby feed stores, chat with local farmers and ask around at the farmer’s market, search online, or seek out mushroom growers in your area who might be searching for the same thing.
If a store doesn’t carry it, put in a request. The more demand there is for straw that is not sprayed, the more people will be inspired to provide it for their local communities, knowing how much it will be appreciated.

Now to the laundry basket.
I bought this plastic laundry basket when it was on super sale at a nearby grocery store. As soon as I saw it, I knew it would be perfect for growing mushrooms, and I was stoked!
After growing mushrooms in it, I can now say it was fantastic for that purpose!
Laundry baskets are great for growing oyster mushrooms outdoors.
If you are able to find a vertical style laundry hamper, like this one, with lots of holes in it, you can grow a lot of mushrooms in a small amount of space.
The holes in the laundry basket provide places for the oyster mushrooms to fruit.
No laundry basket? What about plastic crates? Get creative! Do you have any containers to repurpose that could be used for growing mushrooms? If you don’t have something already on hand, I’ve seen lots of plastic laundry baskets at nearby thrift stores that could be given new life.
Oyster mushrooms can also be grown in straw covering raised beds in the garden. We also did that in this year’s garden, but growing oyster mushrooms in the laundry basket is where we had the most success by far!
Once you find something that works for you to grow mushrooms in, it can be used again and again.

Okay, let’s talk mushroom spawn.
This year we wanted to grow oyster mushrooms outside in the garden, and we wanted to grow them in straw.
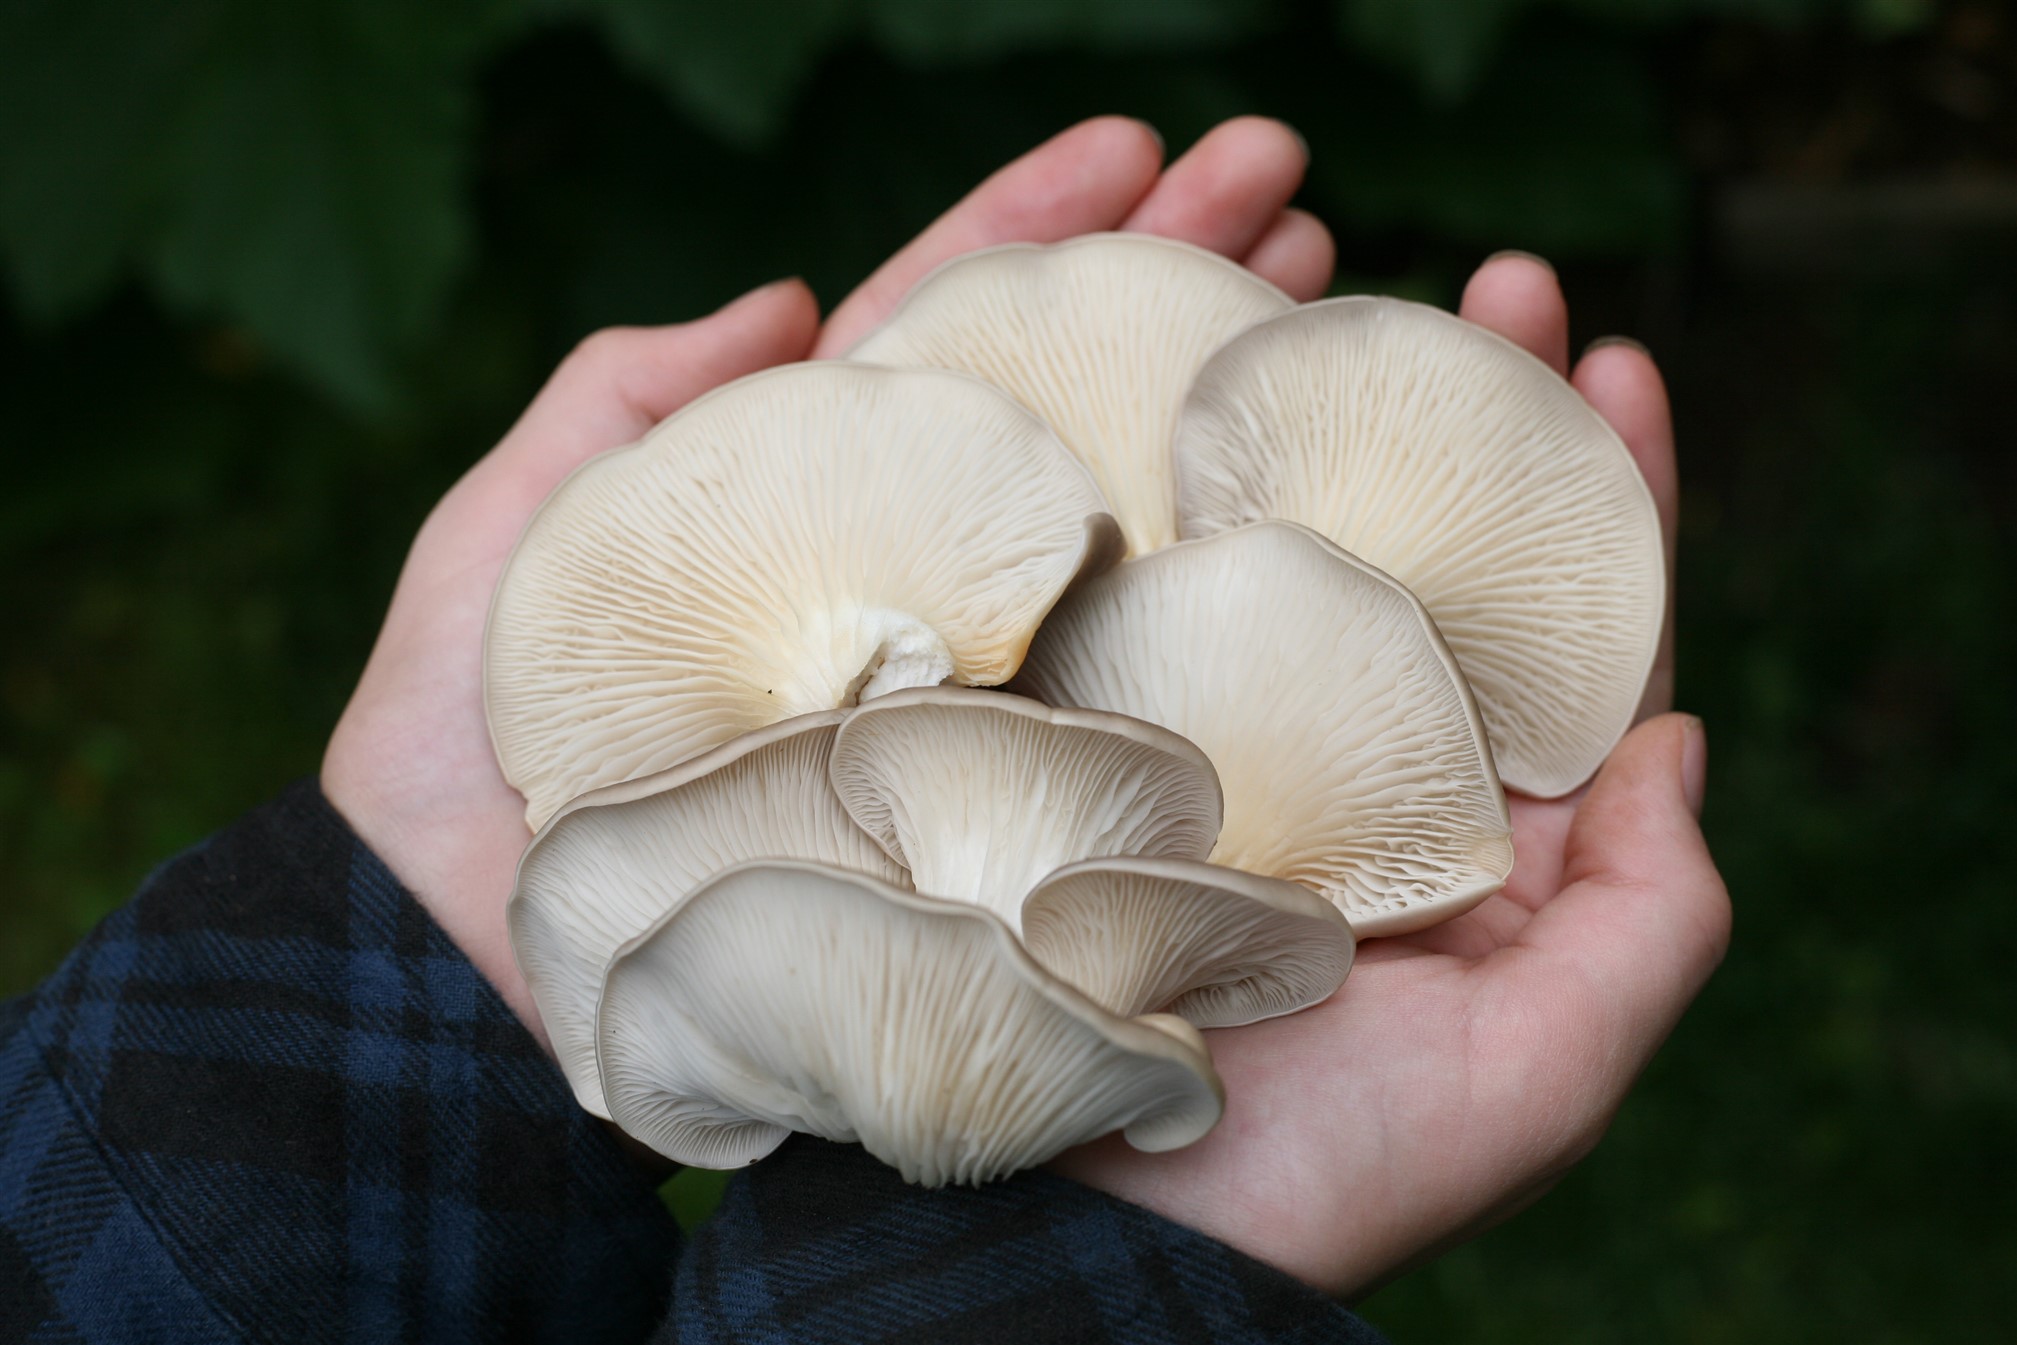
We decided on Italian Oyster Mushrooms (Pleurotus pulmonarius.) They love straw, and the fruiting temps said 65 – 75 degrees F, which sounded good.
The Italian Oyster Mushrooms were described as a thicker and meatier oyster mushroom, with a mild flavor. That sounded good too.
We ordered Italian Oyster Mushroom Sawdust Spawn from North Spore.
We had ordered other mushroom spawn from North Spore in the past and had been very pleased with everything we had gotten from them. (This is not an affiliate post, I simply love sharing products and companies we love supporting!)
*Side note: oyster mushrooms can be great for growing outdoors, and there are many varieties of oyster mushrooms to choose from. I’m sharing about Italian Oyster Mushrooms in this post because that’s the variety we chose for this project.

Choose your location. Ideally, you want a spot that is not in full sun, is convenient for watering, and where you will see it every day.
I wanted the laundry basket to be in a spot where I would walk past it every single day, making it easier to remember to keep it watered. I chose a spot near the goat yard, so I could check it multiple times a day when I walked past to care for the goats.
We also chose that particular location for the laundry basket because it was near the garden hose, and it was in a more shady part of the garden where it wasn’t in full sun, so it wouldn’t dry out as quickly and would stay cooler during the heat of summer.
Okay, let’s recap…
Location with water source. Check. Laundry basket. Check. Straw. Check. Mushroom Spawn. Check.
Once we had everything on hand, and our location chosen, our next step was to sprinkle a layer of straw on the bottom of the laundry basket, followed by a layer of mushroom spawn.
We then watered each layer as we went. We put the hose sprayer on the shower setting, to give it a good soaking.
We continued that way- straw, mushroom spawn, watering, straw, mushroom spawn, watering- until with all our many layers, we were to the top of the laundry basket with straw. If you have multiple people helping, you can work together and each do one of those parts.
We lightly spread each layer of straw, not packing it down tightly. Watering it did the packing down.
Notes: Some people sterilize their straw beforehand, but since the oyster spawn takes over so quickly, we didn’t worry about doing that.
It’s important to get your straw very wet from the start to make it easier for the mycelium to colonize it. The straw can be soaked in a tub of water before doing the project, to fully saturate the straw, before doing the layers in the laundry basket. We decided to water each layer as we went instead.
The spawn we ordered from North Spore was 5.5 lbs. and we had enough leftover for one more laundry basket of the same size. We would recommend planting two laundry baskets, and breaking the 5.5 lbs. of spawn in half, and spreading half throughout each laundry basket. This is what we plan to do next time.
I wrote down that we “planted” our oyster mushrooms in the laundry basket in the garden, on July 24th.
For daily watering, we changed the hose sprayer setting to mist.
We watered it daily, and sometimes twice daily on especially hot days. (In hindsight, in my zest to make sure it never dried out, I believe I overwatered it at times. You will get a feel for it.)


Even though the laundry basket was in a location with some shade, Jeff also wanted to wrap it in plastic initially to retain moisture in the beginning due to the summer heat we were experiencing. If planted earlier in the season, that step might not be necessary.
On August 7th we removed the plastic.

We watered it and checked on it daily. At first, all we were growing was grass.

But then… we spotted our first mushrooms!
I wrote that on August 11th we saw our first three mushrooms. Three!
You should have heard the ruckus our family made over those wee mushrooms, exclaiming over each one in our excitement.
We had “planted” our Italian Oyster Mushrooms on July 24th and already on August 11th we were seeing our first mushrooms! That’s mushrooms in less than three weeks! Awesome!

On August 14th, we harvested our first oyster mushrooms from the laundry hamper.

Homegrown mushrooms! Hooray!
On August 15th, we harvested more.

On August 16th, we harvested a whole colander of oyster mushrooms!

And the mushrooms kept coming!
On August 17th we harvested another colander full of mushrooms.

On August 26th, a second flush of mushrooms came on, and we harvested more mushrooms. And then we harvested more on the 27th.

Then there was a gap, and on September 20th we were surprised with a third flush of oyster mushrooms! We harvested more on September 24th.


These last two pictures were a bit blurry, but I wanted to share them to show some of our final harvests.
(None of the pictures in this post show the back side of the laundry hamper, which was also covered in mushrooms! I wasn’t able to take good pictures from the other side because there was a fence there with beans growing on it.)
On October 14th, the fourth flush of oyster mushrooms started! On the 16th we harvested oyster mushrooms. Wow!

In all, we had four flushes with the oyster mushrooms fruiting, beginning in August and going through September and October. Some flushes gave us days and days of harvests, which were sometimes quite abundant.
When we ordered the Italian Oyster Mushroom spawn, the fruiting temps said 65 – 75 degrees F, so we were amazed that we got so many mushrooms during the heat of summer.
We’re sure the shady location helped with that, as well as keeping it misted every day. Perhaps the cooler nights here in the coastal range of Oregon made a difference too.
I read that Italian Oyster Mushrooms can fruit in early spring and late fall, so I would like to start ours earlier than summer next time around.

What did we do with all our homegrown mushrooms you might ask?
We sauteed the Italian Oyster Mushrooms with butter. Yum! We were very fond of the taste, and definitely want to grow the same kind again!
We also had enough mushrooms to dry some for the winter, which we plan to use in soups.
Jeff has grown many different kinds of oyster mushrooms over the years, in all different colors, but didn’t love the flavor. The Italian Oyster Mushrooms have been his favorite oyster mushrooms yet, and also the easiest to grow.
For the cost of a laundry basket (which can be re-used each year), some oyster mushroom spawn, and some straw, you can grow an abundance of delicious and healthy mushrooms right outside your door!
(We are going to experiment to see if we can use our same spawn again with fresh straw.)
The initial set up doesn’t take very long, and watering takes only a few minutes a day. Totally worth it for delicious, homegrown mushrooms!
We can’t wait for next year’s garden season to come around again to grow more oyster mushrooms out there!
So, what are you waiting for? Are you ready to start growing some mushrooms?
Is your family wondering why you are dumping all the laundry on the floor and heading out to the garden with the laundry basket? Yep, that’s called mushroom fever my friends. It’s a real thing!
……..
*As always, make sure you confidently identify any mushrooms you harvest before eating them! Also, it’s always a good idea, when eating a mushroom for the first time, to start with a small amount to see how your body responds to it.

I have found throughout my life that some of my most challenging experiences have brought the best lessons and opportunity for growth. You know what else? Sometimes those hardest experiences can deepen our gratitude more than anything else.
I have felt my gratitude deepened the most, not by things being easy, but by things being downright hard. I have felt humbled, and I have felt grateful, from those experiences.
During one of the hardest times in my life, I felt very disconnected from my truest self, and now feeling that connection to my soul means everything to me.
There is gratitude in the contrast.
My body has so much gratitude for the feeling of being physically and emotionally safe because in the past I have experienced the opposite of that.
At one point in my life, I walked or took the bus to go places. That deepened my appreciation for being able to drive where I want to go in a car.
In my first apartment, I had no furniture. Just a sleeping bag, and a suitcase. You know what I think is really awesome now? A comfy chair to sit in. (Though I do still enjoy sitting on the floor as well.)
You want to know why I appreciate a washing machine so much? Because I’ve been without a working washing machine on multiple occasions.
Many of us have experienced feeling strongly disliked or judged by another. Doesn’t that make the feeling of being treated with love and warmth, that much more welcome?
For those who have experienced trauma, what a relief it can be to simply smell flowers, listen to birds, and engage with all the senses in nature, in a space that is peaceful. Sometimes the simplest things can be so healing.
Whenever the power goes out it deepens my appreciation for the convenience of electricity. And running water. (So did our time without a working well last summer.)
That feeling in my heart when I hear the sound of my son singing? B had a speech disorder when he was young (with the initial diagnosis informing us he would likely never be able to speak intelligibly), and the first time he sang I cried like crazy. That sound is still something I will never take for granted.
When my husband Jeff feels good in his body, I feel grateful. He is still recovering from harms done during his time in the hospital years back, and it has made us both appreciate health and well being in a whole new way.
The busy pace of the warmer months makes me appreciate the colder season when the pace slows down. Then the cold of winter makes me appreciate the warmth of summer when it comes back around.
Knowing what it’s like to be the new person who doesn’t know anyone, sure made me grateful whenever someone went out of their way to make me feel welcome, and made me more mindful to introduce myself to others when they were in that position.
Moving far from home, I came to appreciate time spent with family more. The time together became precious in a way I could never have understood before.
Periods of time being self-employed, with money tight and without a steady paycheck, gave me a deeper appreciation for every bill that got paid, every tank of gas that got filled, and every bag of groceries that got purchased. It also made me appreciate, even more, experiencing such abundance in so many areas of my life.
I am grateful for the feeling of community, near and far. I know what it’s like to go through something hard, and be in need of support that is not always easy to find. Over time I have come to appreciate, deeply, the treasure that a true friend is, and for people who are there for you when you need them most. In person, and from afar.
For someone who has experienced being without a roof over their head or enough to eat… can you imagine the depth of gratitude for those things many of us take for granted each day?
Every day I practice choosing to be grateful. Some days I feel more grateful than others, but I am constantly reminded that there is much to be grateful for.
What experiences have deepened your gratitude?