
This tutorial shows you how to add a Google map to your Android app. The map includes a marker, also called a pin, to indicate a specific location.
Follow the tutorial to build an Android app using the Google Maps Android API. The recommended development environment is Android Studio.
Get the code
Clone or download the Google Maps Android API v2 Samples repository from GitHub.
Set up your development project
Follow these steps to create the tutorial project in Android Studio.
- Download and install Android Studio.
- Add the Google Play services package to Android Studio.
- Clone or download the Google Maps Android API v2 Samples repository if you didn't do that when you started reading this tutorial.
-
Import the tutorial project:
- In Android Studio, select File > New > Import Project.
- Go to the location where you saved the Google Maps Android API v2 Samples repository after downloading it.
- Find the MapWithMarker project at this location:
PATH-TO-SAVED-REPO/android-samples/tutorials/MapWithMarker - Select the project directory, then click OK. Android Studio now builds your project, using the Gradle build tool.
Get an API key and enable the necessary APIs
To complete this tutorial, you need a Google API key that's authorized to use the Google Maps Android API.
Click the button below to get a key and activate the API.
For more details, see the full guide to getting an API key.
Add the API key to your app
- Edit your project's
gradle.propertiesfile. -
Paste your API key into the value of the
GOOGLE_MAPS_API_KEYproperty. When you build your app, Gradle copies the API key into the app's Android manifest, as explained below.GOOGLE_MAPS_API_KEY=PASTE-YOUR-API-KEY-HERE
Build and run your app
- Connect an Android device to your computer. Follow the instructions to enable developer options on your Android device and configure your system to detect the device. (Alternatively, you can use the Android Virtual Device (AVD) Manager to configure a virtual device. When choosing an emulator, make sure you pick an image that includes the Google APIs. For more details, see the getting started guide.)
- In Android Studio, click the Run menu option (or the play button icon). Choose a device as prompted.
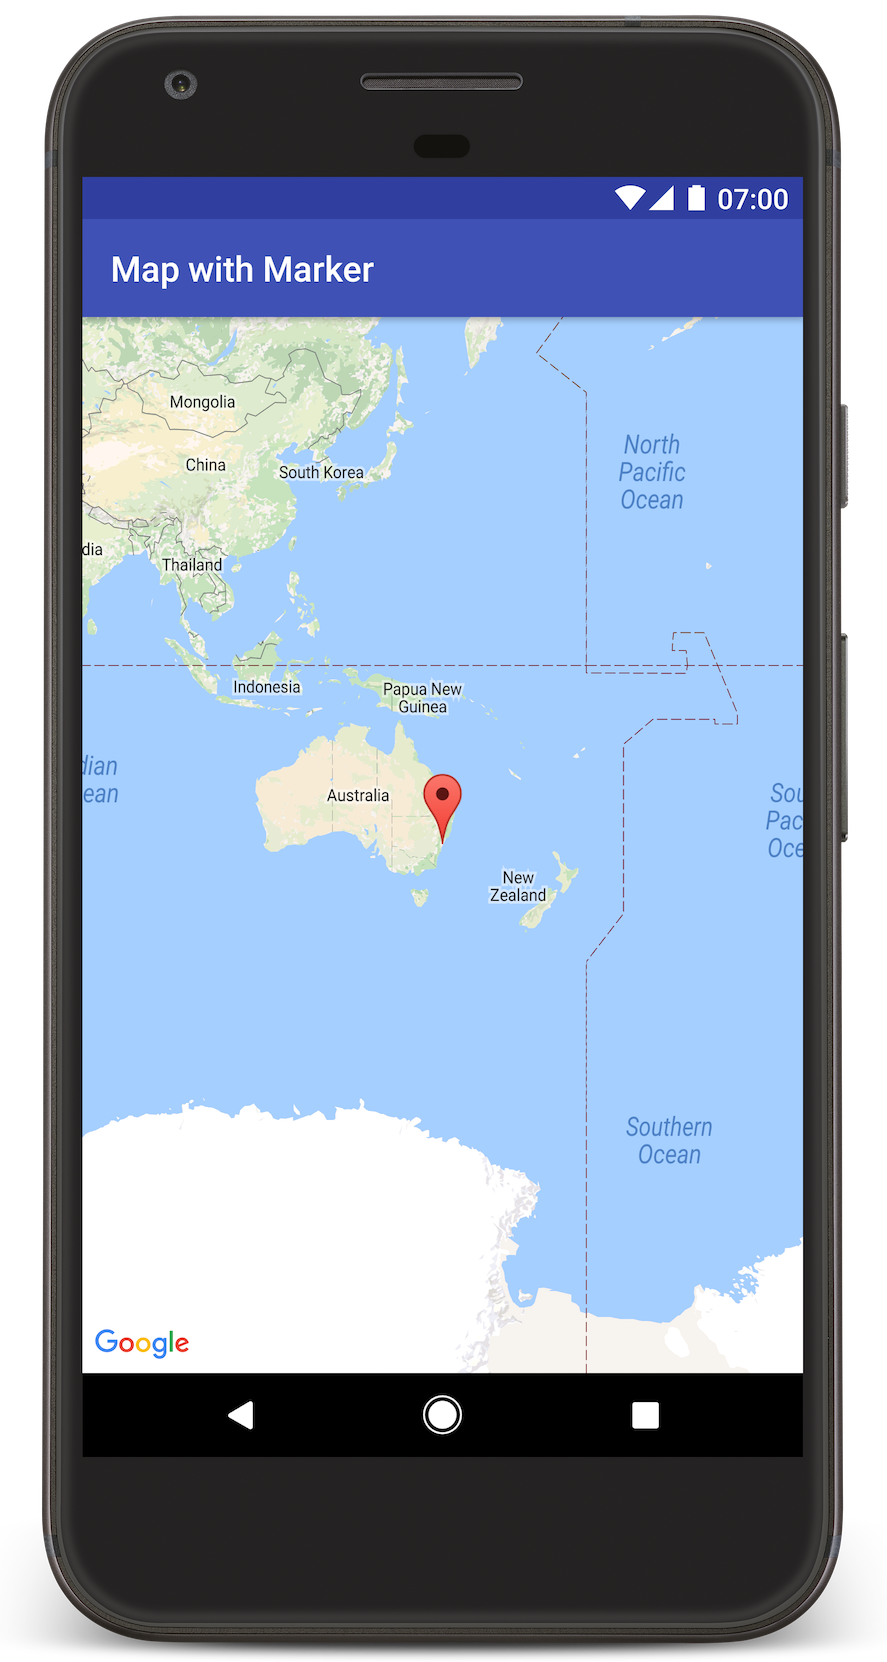
Android Studio invokes Gradle to build the app, and then runs the app on the device or on the emulator. You should see a map with a marker pointing at Sydney on the east coast of Australia, similar to the image on this page.
Troubleshooting:
- If you don't see a map, check that you've obtained an API key and added it to the app, as described above. Check the log in Android Studio's Android Monitor for error messages about the API key.
- Use the Android Studio debugging tools to view logs and debug the app.
Understand the code
This part of the tutorial explains the most significant parts of the MapWithMarker app, to help you understand how to build a similar app.
Check your Android manifest
Note the following elements in your app's AndroidManifest.xml file:
-
Add a
meta-dataelement to embed the version of Google Play services that the app was compiled with.<meta-data android:name="com.google.android.gms.version" android:value="@integer/google_play_services_version" /> -
Add a
meta-dataelement specifying your API key. The sample accompanying this tutorial maps the value for the API key to a stringgoogle_maps_key. When you build your app, Gradle copies the API key from your project'sgradle.propertiesfile to the string value.<meta-data android:name="com.google.android.geo.API_KEY" android:value="@string/google_maps_key" />To see how the API key maps to the string value, take a look at your app's
build.gradle. It contains the following line that maps the stringgoogle_maps_keyto the gradle propertyGOOGLE_MAPS_API_KEY:resValue "string", "google_maps_key", (project.findProperty("GOOGLE_MAPS_API_KEY") ?: "")
Below is an example of a full manifest:
<?xml version="1.0" encoding="utf-8"?>
<manifest xmlns:android="http://schemas.android.com/apk/res/android"
package="com.example.mapwithmarker">
<application
android:allowBackup="true"
android:icon="@mipmap/ic_launcher"
android:label="@string/app_name"
android:supportsRtl="true"
android:theme="@style/AppTheme">
<meta-data
    android:name="com.google.android.gms.version"
    android:value="@integer/google_play_services_version" />
<!--
The API key for Google Maps-based APIs.
-->
<meta-data
  android:name="com.google.android.geo.API_KEY"
  android:value="@string/google_maps_key" />
<activity
android:name=".MapsMarkerActivity"
android:label="@string/title_activity_maps">
<intent-filter>
<action android:name="android.intent.action.MAIN" />
<category android:name="android.intent.category.LAUNCHER" />
</intent-filter>
</activity>
</application>
</manifest>
Add a map
Display a map, using the Google Maps Android API.
-
Add a
<fragment>element to your activity's layout file,activity_maps.xml. This element defines aSupportMapFragmentto act as a container for the map and to provide access to theGoogleMapobject. The tutorial uses the Android support library version of the map fragment, to ensure backward compatibility with earlier versions of the Android framework.<fragment xmlns:android="http://schemas.android.com/apk/res/android" xmlns:tools="http://schemas.android.com/tools" android:id="@+id/map" android:name="com.google.android.gms.maps.SupportMapFragment" android:layout_width="match_parent" android:layout_height="match_parent" tools:context="com.example.mapwithmarker.MapsMarkerActivity" /> -
In your activity's
onCreate()method, set the layout file as the content view. Get a handle to the map fragment by callingFragmentManager.findFragmentById(). Then usegetMapAsync()to register for the map callback:@Override protected void onCreate(Bundle savedInstanceState) { super.onCreate(savedInstanceState); // Retrieve the content view that renders the map. setContentView(R.layout.activity_maps); // Get the SupportMapFragment and request notification // when the map is ready to be used. SupportMapFragment mapFragment = (SupportMapFragment) getSupportFragmentManager() .findFragmentById(R.id.map); mapFragment.getMapAsync(this); } -
Implement the
OnMapReadyCallbackinterface and override theonMapReady()method, to set up the map when theGoogleMapobject is available:public class MapsMarkerActivity extends AppCompatActivity implements OnMapReadyCallback { // Include the OnCreate() method here too, as described above. @Override public void onMapReady(GoogleMap googleMap) { // Add a marker in Sydney, Australia, // and move the map's camera to the same location. LatLng sydney = new LatLng(-33.852, 151.211); googleMap.addMarker(new MarkerOptions().position(sydney) .title("Marker in Sydney")); googleMap.moveCamera(CameraUpdateFactory.newLatLng(sydney)); } }
By default, the Google Maps Android API displays the content of the info window when the user taps a marker. There's no need to add a click listener for the marker if you’re happy to use the default behavior.
Next steps
Learn more about the map object and what you can do with markers.
 Need help? Visit our